ROCKCRAWLER.com
Aluminum Customs Cyclone
Louvered Hood Panel Insert

By Shawn Pagan

Send this article to a friend!

The instruction sheet included with the product is reasonably detailed, so I'm not going to bore you with repeating those instructions here. I will cover things I thought of during the installation.

The instructions tell you what tools they would use, which I thought was a nice touch, even though I ignored their directions on this. One thing they don't mention is that while an individual could do this job without help, an extra set of hands is really useful - even on a project as simple as this one. In fact, it is highly likely that you will need and extra set of hands to remove the hood and make sure the panel is aligned properly.

The first direction in the instructions is to prepare the Aluminum Hood Panel, and personally, I think I would do that as my last step, only because I would want to test fit and locate everything and drill my holes prior to getting the finish put on. I'll touch on this a little later on.

Removing the hood from the vehicle is fairly straightforward and a step I would highly recommend. Could this be done on the vehicle? Yes, it could be, but you would be taking a chance on getting metal shavings in and around your engine. I thought of trying to keep it on the vehicle myself, but am really glad that I did not, as there is a lot of cutting and moving that makes it a lot easier on a secure working surface.

The first thing I did was to remove any hardware, connections or other items connected or bolted to the hood.

Aluminum Customs Cyclone
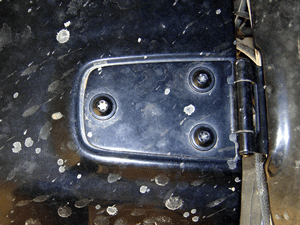
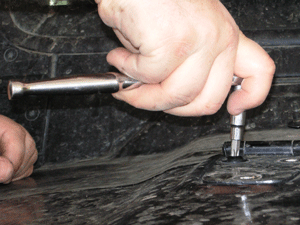
Before opening your hood, get a good male star (Torx) socket and loosen (but don't remove) the bolts in the hood hinge.
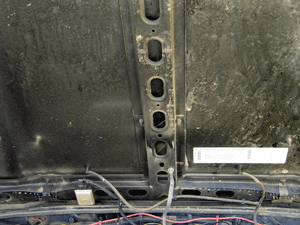
Notice the electrical wiring, hoses and other connections from the engine bay to the hood.
Aluminum Customs Cyclone Aluminum Customs Cyclone
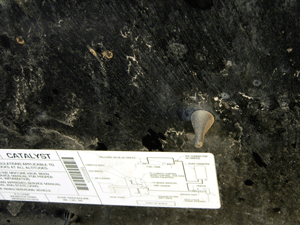
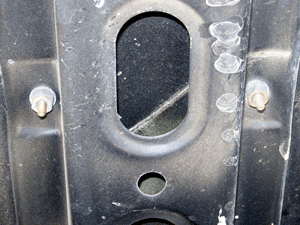
This is the bottom of the rubber bumpers used to cushion the windscreen if you should lay it down. Also note that if you want any info off this sticker you should write it down now.. as the sticker will be sliced through to finish this installation.
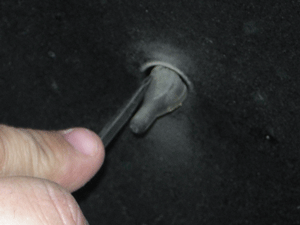
Use a small screwdriver to work the bumper out from the underside of the hood.
Aluminum Customs Cyclone Aluminum Customs Cyclone
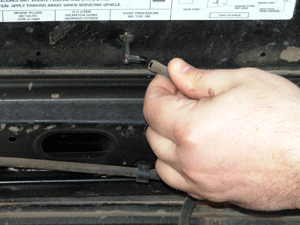
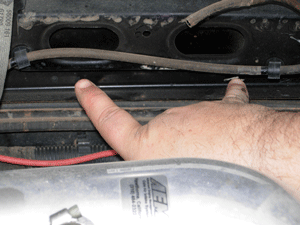
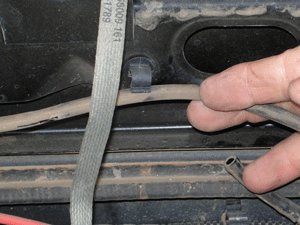
Remove the windshield wiper hose from the sprayers.
Disconnect the sprayer hose from the clamps on the hood.
Aluminum Customs Cyclone Aluminum Customs Cyclone
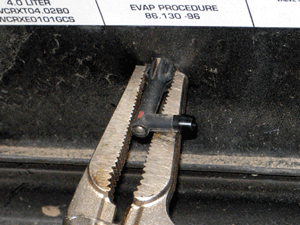
Simply pop them off.
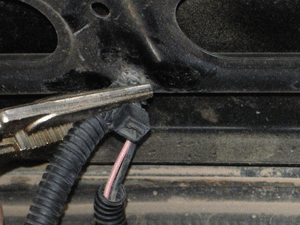
A pair of needle nose pliers works well to grip the disconnect and slide it through the hood.
Aluminum Customs Cyclone Aluminum Customs Cyclone
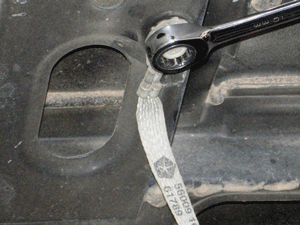
Unbolt the ground strap.
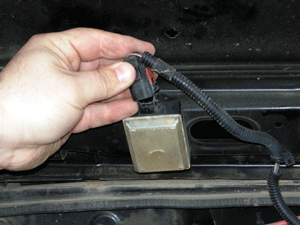
Disconnect the under-hood light.
Aluminum Customs Cyclone Aluminum Customs Cyclone
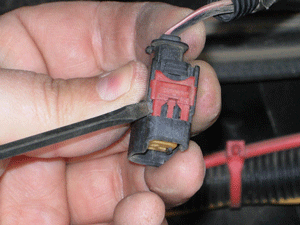
Be sure to slide the lock up before trying to remove. Don't force anything.
You may have to cut this connector, but you can re-attach with a wire tie later.
Aluminum Customs Cyclone Aluminum Customs Cyclone
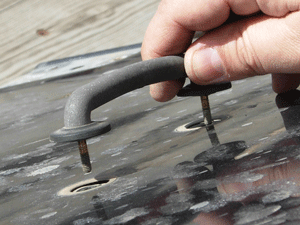
Remove the windshield tie down loop. Be careful here, as I know a number of people who have snapped these small bolts when taking them off or putting them on. Mine was oxidized enough that I ordered a new one from the dealer for about $15.00 with nuts.
Aluminum Customs Cyclone Aluminum Customs Cyclone
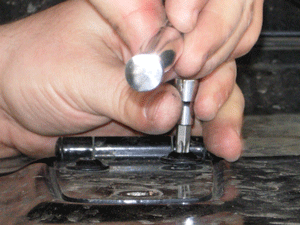
Remove the hinge bolts. Be careful with these, as they are easy to strip the heads on, and, yes, you do need all 6 bolts to make sure the hood is aligned properly when you put it back on.

It might be noted here that the windshield sprayers are different on new models of Jeep Wranglers, but the procedure is similar. Just be sure you have everything taken off the hood or disconnected underneath before trying to lift the hood... you don't want to have to do a new paint job.

Another quick reminder is that the bolts holding the hinges in place are put in with thread locker. It will take some force to remove them, just apply steady pressure and they should come out without a problem.

Time to Start Cutting

 
Help spread the ROCKCRAWLER world!           Share on Facebook


©1997-2022 ROCKCRAWLER 4x4 and Off-Road Magazine. All Rights Reserved.

RockCrawler.com   -   IH8MUD.com