|
|
|||||||||
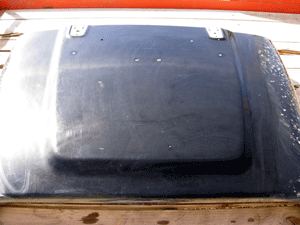
| At this point it was time to take the hood off and lay it on my work surface (in this case my trailer). And the first thing I did was to clean the surface and put a light coat of wax over the whole thing. Then I just started working through the instructions.
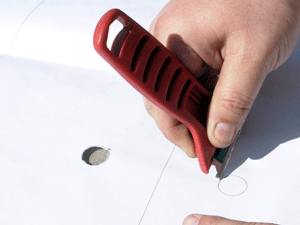
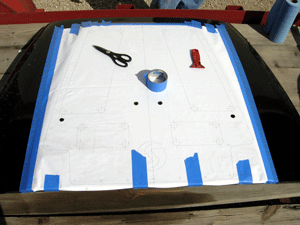
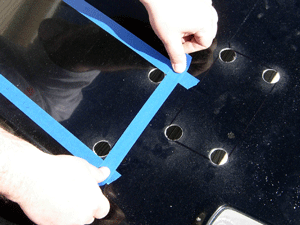
When the hood is ready to be modified, go ahead and use a tape measure and mark the center of the front and the center of the hood in the rear. Then you will need to cut out the template (or do like I did and leave the template whole) and the 4 alignment holes in the template (they align the overlay with the existing holes for the sprayers and the windows cushions that you removed before). Once you have the template cut to your liking and the alignment holes notched out place the template on your hood, line up your center marks and the four alignment holes. Then tape it in place.
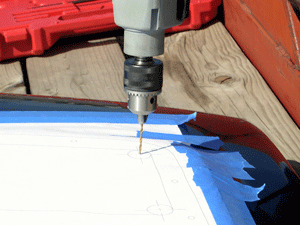
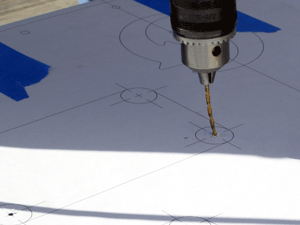
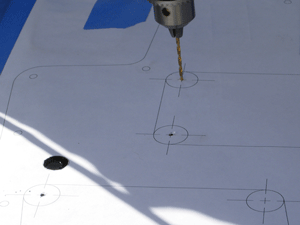
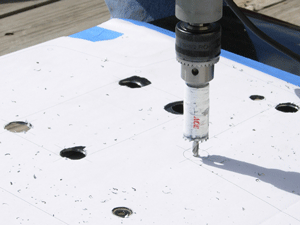
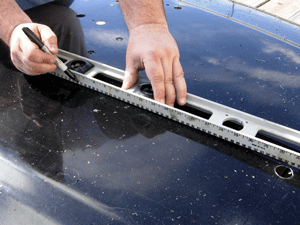
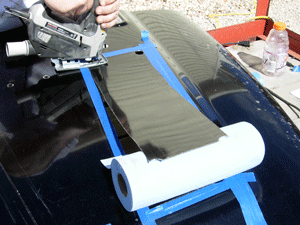
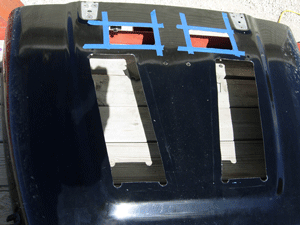
In the next couple of steps the instructions want you to drill the holes for the corners of the cutouts you are going to make. I also left the template in place when I used the hole saw to cut the 16 guide holes. Now remove the template and using a straight edge mark out the lines from the outside of the holes you just drilled to the next hole. In all, you should have four holes outlined on your hood. I found that using masking tape to mark the lines made cutting them and keeping them as straight as possible easier for me (especially on the black hood). I also chose to use a jig saw with a fine tooth metal blade instead of a cutoff wheel. You have choices when you work like this, just be sure to choose something you are comfortable using. As noted in the last picture above, I left the bottom a little short of the hole saw cuts. The instructions from Aluminum Customs tell you to watch out in the area and after test fitting the panel I decided I didn't need to bother cutting all the way down so I just left it. From underneath it will look the same and I doubt it hampers any air flow... |
|||||||||
|
Help spread the ROCKCRAWLER world!
Share on Facebook
|


