Installation (Front):
For this installation we wanted to keep things as "real world" as possible. While we have a shop with every imaginable tool at our disposal, we decided to do this one in Steve's back yard using floor jacks and basic tools. Now let's not go too far - we did fire up the compressor and use air tools - after all we are getting older and the thought of breaking rusty bolts loose with just our hands made us all a little queasy. But there is no reason that this can't be accomplished with simple hand tools.
As I have said in many articles, the point here is not to give you detailed instructions. Those are available from Rough Country (X-Series instructions in .pdf format). Our goal is to give you an idea of what it takes to do the installation and provide you with any anomalies that we encounter.
We started by removing the old front axle.
|
|
Start by securely supporting the vehicle on jack stands or blocks and then remove the tires. |
Remove the steering. Don't forget to remove any clips or cotter pins. |
|
|
Remove the lower and upper control arms and disconnect the drive shaft. Note: I would highly recommend doing one side at a time, and then replacing each side before moving on to the next. In this case we were replacing the whole axle assembly so we took everything off. |
Remove the Pitman arm by first taking the nut off. |
|
|
Then using a Pitman Arm puller (and plenty of penetrating fluid) with an air gun. It should come right off. |
Once we had the old parts off, we wanted to compare where we were, to where we were going.
|
|
Here you can see the stock front upper and lower control arms and the stock front springs compared to the new pieces. |
Then we moved on to installing the "new" high pinion Dana 30 (painted chartreuse purple just in case you couldn't tell the old axle from the new). The first thing of course is to prepare any of the parts you need to use.
|
|
Use a good lube on all the urethane bushings. Not only will it help to keep things from squeaking but it will make assembly an awful lot easier. Notice that the bushings have lube retention cut outs. This is a great attention to details and should lengthen the life of the bushings. |
|
|
Don't forget the little details ahead of time. Press all the bushings into the control arms and secure the brake lines using the new hardware and fittings. |
Note: We ran into our first issue: We broke two of the three new square clips that hold the hard lines to the new brackets. Fortunately, we kept the original C style clips and were able to use those so we didn't have a real problem during the install. We did, however, call Rough Country about the problem and they were surprised and concerned. They sent us a new brake line kit and we didn't have any issues with the clips.
Once you have all the little stuff done, it's time to re-install the axle.
|
|
Install the upper control arm and then the lower control arm. Be sure they are adjusted to the length called for in the instructions. |
|
|
With the weight secured on a jack, install the new springs and shocks. |
|
|
Reinstall the brakes, the wheels and tires. In this case we went with 15x10 rims, 4" backspacing and 35x12.50 Goodyear MT/Rs. |
Now reinstall the tracbar and the swaybar end links and look back over your install to make sure you didn't miss anything.
|
|
At this point you will also want to adjust your new tracbar and install it. While we were not big fans of the small tie rod end used on the tracbar, it seems to do its job just fine. |
Oops, the pins don't fit! The swaybar disconnects wouldn't go together. |
|
|
Once we "clearanced" the pins installation was fairly simple. |
Note: We ran into our second issue: The pin holes on the swaybar disconnects wouldn't line up. We ended up having to drill them out to put them together. Later, during testing we found the disconnects were difficult to use. With the quality of fit and finish shown in the rest of this kit we were a little disappointed in the design and implementation of the swaybar end links and can hope that Rough Country will improve this design over time. It should be noted that we did get an early production kit.
We choose this time to install the new steering box guard and brace that Rough Country had shipped to us. Its small design had us wondering how well it would work. Once we bolted it on we felt it would provide adequate protection and help to brace the box.
Sit back and admire the work you have completed on the front end. Now it's time to secure the rear end and get it to match up to the work you have completed up front!
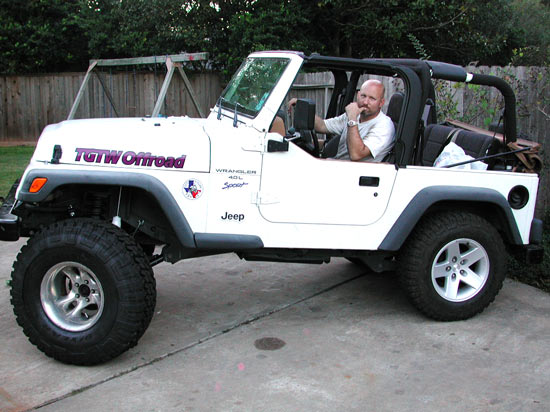 |
One is never really sure how much attention their friends need until they see them driving something like this... |
As usual, when you start a project with the help of a couple of friends you may spend more time joking around than working hard. Plus, I don't think we actually started until much later than we anticipated - so the installation ended up continuing into the early evening.
We didn't find any surprises on the rear install. Much like the front, we swapped in a complete axle assembly (choosing to replace the Dana 35 with a Ford 8.8). We did, however, have the same problems with the rear
swaybar disconnects that we had with the front disconnects.
|
|
The rear installs pretty much the same as the front. The only real difference is that you will install a bracket for the rear tracbar instead of an adjustable bar and, of course, there is no steering. Be sure to use the measurements that came in the instructions. They provide a good starting point. |
|
|
Once you have the tires bolted back on you will need to get an alignment done. The owner of this liked the finished look, however, she probably wanted it done a little earlier in the day so she could actually take it for a test drive. Of course there is nothing like girls night out. |