|
|
|||||||||||
|
Installation
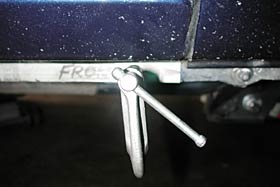
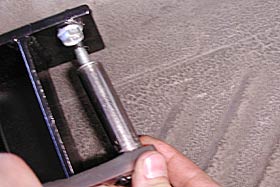
The template is clamped on to the pinch weld, where the rocker comes together with the floor pan, underneath. You simply butt the template up to the obvious edge at one end and up to the top of the pinch weld. The template is marked "front" so you can't mess this step up. Once you have the template in place, you clamp it on and drill your pilot holes.
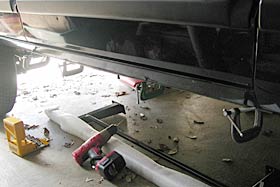
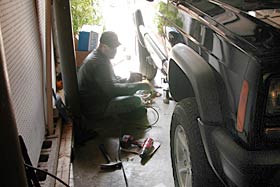
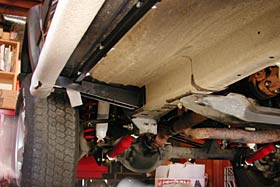
We used a large floor jack to hold our bars in place while we put in our screws. Once we had the first set of screws in, it was time to put the holes in the frame. Lining up the bars just right for this part was a bit tricky. We wanted no mistakes when making sure our Boulder Bars were level and straight. Using the floor jack was perfect, because we could make very fine adjustments until we were satisfied. Once the bars were positioned, we had the choice of either marking the holes, dropping the bars, making the holes, and repositioning to put the screws in, or simply drilling through the positioned bars. We chose the latter. Once again, we drilled pilot holes prior to putting the self-tapping screws in. For going through the frame, you'll need a hoss of a drill, plenty of oil on your drill bits, and a lot of patience. You'll also need high-quality drill bits to begin with.
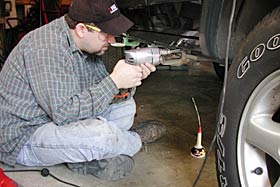
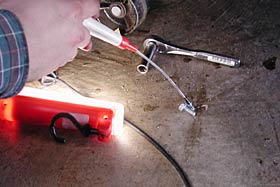
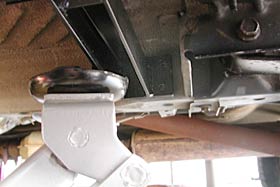
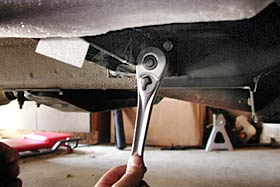
Once the pilots are drilled, it's time to put the self-tapping screws in. You only get one shot at this, so you have to be very careful when starting these screws. They must go in straight and you must use very slow, even pressure to ensure that they go in right. We used a 1/4" ratchet to start them out and finished them with a 3/8". There are two mounting arms, each with a flange on the frame end. Each flange gets four screws. It will take a while to get them all in but be patient and it will pay off by coming out right. Once we had all eight screws in part way, we tightened them all up, and also the pinch weld screws on the inner support bar. That's all there is to mounting Boulder Bars. Obviously, you'll repeat the above steps for the other side.
|
|||||||||||
|
Help spread the ROCKCRAWLER world!
|