Step 2: APPLY

If there's one thing we cannot stress enough, it's to keep your
Herculiner mixed well. Using your drill attachment, mix the Herculiner
for a while. Then mix some more. Then mix even more. The idea is
to get all of the chunks evenly dispursed throughout the can. We
found that hovering the attachment just below the surface made a
nice funneling effect that worked very well. Also, be sure to scrape
the bottom. |
Herculiner is extremely sticky and will stick to seemingly everything,
including air! Brent is an EMT so he had high-grade rubber gloves.
I had the cheap kind and sometimes had to double up on them to keep
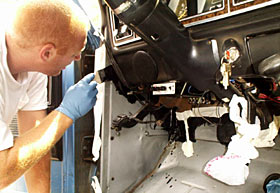
them from tearing. The first part of applying the liner is to very
carefully do your detail work. Do not use strokes to brush the liner
on. Instead, dab the brush. This does a better job at applying it
and also gives it some nice texture. |
Go through the entire truck and detail all the hard to get to spots.
Remember not to box yourself in! |
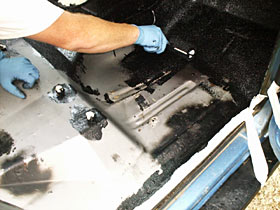
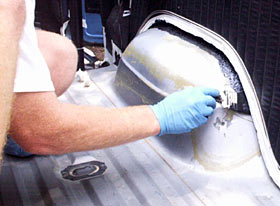
Now it's time for the roller. Be sure to apply Herculiner as evenly
as you can throughout the truck. |
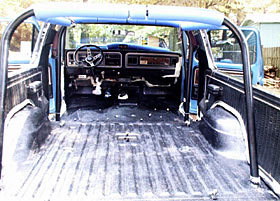
Here you can see the difference between the Herculined and unfinished
sections. |
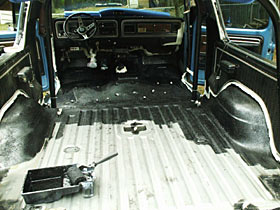
Once you have finished your first coat, it's time to let it sit
and cure for three to four hours. Wash your brush off thoroughly
with Xylene so it doesn't harden before the second coat. Also, remember
to store your can in the shade and keep it mixed up. |
This
is the point where your helper will surely try to scam a little
bit of your Herculiner for his truck. |
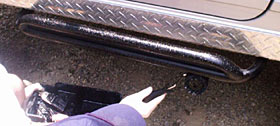
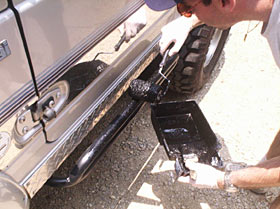
Andy Feingold decided that his rocker bars needed Herculining. The
bars had come unfinished from the manufacturer and after just a
few short months, Andy's paint job was already wearing off from
his shoes rubbing it when he climbed up into his Samurai. He rolled
Herculiner on to refinish the paint and to also add grip when climbing
in. |
