 |
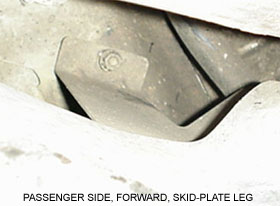
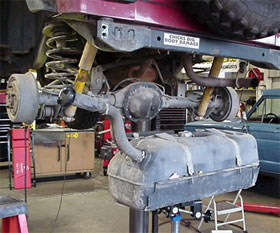
The seventh and final bolt that needed to be addressed can be found on a single leg that extends up from the stock gas tin near the passenger side rear shock. |
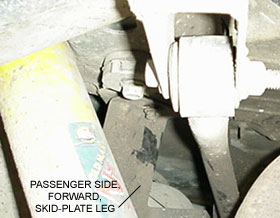 |
Here is another view of the stock gas skid leg. This leg can be seen through the rear wheel well, under the frame, and between the shock and the upper rear track bar mount. After all of the nuts were loosened, it was time to start lowering the gas tank down. |
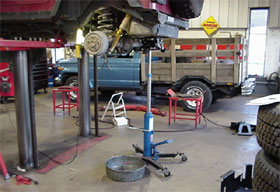 |
Fortunately, I had a well-equipped facility at my disposal at OK Auto, 4WD and Tire. This transmission jack took alot of pain out of the process of lowering and raising the gas tank. An alternative parking-lot method to this procedure would be to put the Jeep up on jackstands and use a floor jack to lower the tank in a similar manner. |
 |
I carefully lowered the tranny jack, while a friend stood on a ladder and guided the fuel filler hose down through the body. I imagine its possible to perform this task by oneself, but having a friend to help is much easier. The official instructions even list "a friend" as one of the tools needed for this installation. Make sure you buy your friend a beer afterwards for his or her help! |
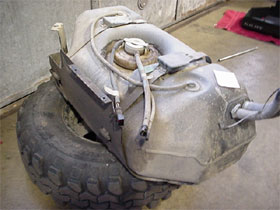 |
This is the stock gas tank assembly, competely removed from the TJ. See? That wasn't so bad! The gas tank is secured to the skid plate using metal retention straps. These straps will have to be disconnected to swap skids. After we swap, the gas tank will be strapped down to the Kilby GTSP1 instead of the flimsy stock gas skid. |
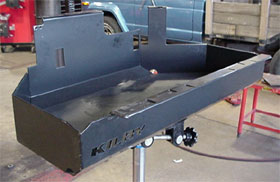 |
Here is the Kilby GTSP1 in all its glory, resting on the transmission jack right before we're about to trial fit it. I highly recommend doing a trial fit on the TJ before you swap the gas tank over. The GTSP1 came unpainted, but I had it sent out to be powdercoated black for better lasting protection. Although it will probably get banged up and scratched pretty good, at least the coating will be less prone to chipping. |
|
Help spread the ROCKCRAWLER world!
|