|
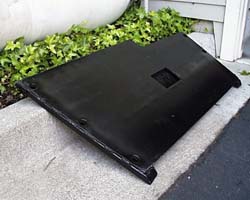
The
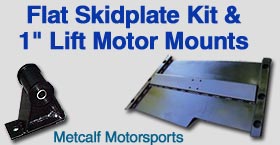
Metcalf skidplate is made of Ľ" steel plate. It has another piece
of formed steel for the transmission mount that runs the length
of the plate form side to side. The mount is predrilled for the
four studs on the drivetrain. There is a hole in the skidplate
that allows access to the studs from the bottom.
Since I ordered the package for a 1" body lift, a frame spacer
was welded on each end of the plate to move it down off of the
frame. The spacers are square tube, capped on the ends to keep
dirt and water out. The plate is designed so that the mounting
bolts countersink into the plate to keep them from getting mangled
by rocks. New mounting bolts and washers are provided.
|
 |
|
|
|
|
|
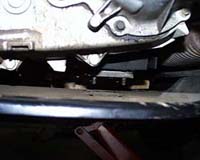
Installing
the plate was more challenging than expected, but still not too
bad. Two floor jacks made it very manageable.
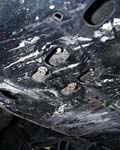
Begin by chocking the wheels. Then loosen the main motor mount
nuts to allow for some play. Remove the four bolts holding the
drivetrain to the stock skidplate and you are ready to begin.
|
| |
|
|
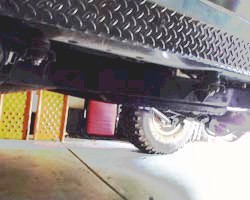
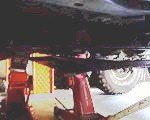
Place
a floor jack under the transmission, using a piece of wood to
spread the load. Jack up the transmission as high as possible.
Place another floor jack under the skidplate and remove the six
mounting bolts. Lower the skidplate out of the way. You may want
to use this time to change your transfer case and transmission
fluid. It's much easier to do with the skidplate out of the way!
|
 |
|
|
|
|
|
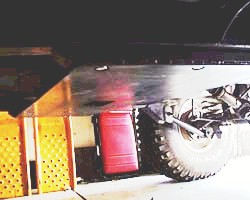
Raise
the new skidplate up with the jack and loosely install it on the
frame with the provided bolts and washers. Lower the transmission
jack and guide the four studs into the holes in the transmission
mount. Loosely install the original four nuts onto the studs.
Check clearances of the catalytic converter, transmission linkage
and transfer case linkage. Tighten the skidplate to frame mounting
bolts, and then the transmission mount nuts.
|
|
|
|
|
|
|
Your rear pinion will need to be adjusted to point the pinion
directly at the end of the output shaft on the transfer case.
You may need longer upper rear arms for this as I did, but if
you have adjustable lowers you may not. That's it! Drive your
Jeep out and look at the difference in clearance. I gained 2
5/8" of clearance from this simple modification! We all know
that every inch counts out there on the rocks.
|
|
|
|
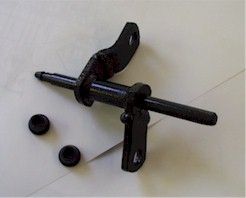 |
I did have some binding on the transfer case linkage. Brennan
and I worked through it, and he built a new linkage for me, which
he now supplies for this package. It was unexpected, but easily
remedied. Brennan cut,switched, and welded the two arms of the
linkage so that the side near the tub is shorter and clears the
transmission hump. Note that if you have a linkage drop bracket
that came with your body lift it should be removed.
|
|
This
was an easy package to install, and the benefits are outstanding.
I can't wait to get up on the Rubicon to see how much different
it is to drive with 35" tires and almost 4" more clearance under
my transfer case (tires and flat plate combined)! The products
are well built and very strong..
|
 |