|
|
|||||||||||||||||||||
|
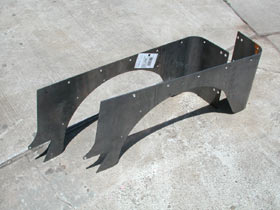
Installation As I thought about it a little more the trip to my house from Englewood, Colorado in a UPS truck would probably be least violent trip theses corners would ever experience. I quickly realized there was no reason to package the corners, because they are nearly indestructible. Crusher Corners are laser cut from 3/16" plate steel. To achieve the perfect radius to match the factory tub, the steel is formed on a roller die for a smooth unscored surface. Taking a look at the label, the pair weighed in at 70 lbs, but the weight is worth the protective benefits gained.
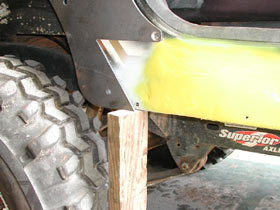
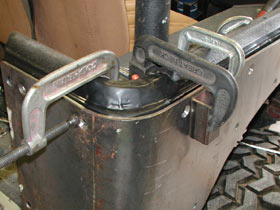
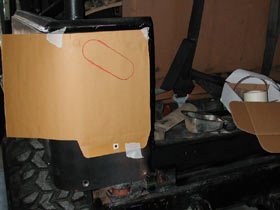
Once you have unwrapped everything, it’s time to do a dry fit. With the amount of body damage my tub had previously suffered, this dry fit quickly exposed places where the sheet metal need a little more ‘finesse.’ This was accomplished with a small 2 lb. sledge hammer followed by more Rustoleum. (NOTE: if your tub is still factory straight, the corners should fit perfect the first time). I used a floor jack with a piece of wood for an extension and several C-clamps to secure the corners in place. Once everything was mocked up I marked where to drill the holes. Since I ordered my corners to accommodate TJ flares (which are much larger than stock CJ or YJ) the opening for the wheel well needed to be enlarged. I marked the tub to match the armor and used a jig saw to cut away more clearance for the tires. After drilling and cutting on the tub, I followed everything up with a good shot of Rustoleum.
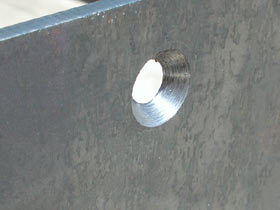
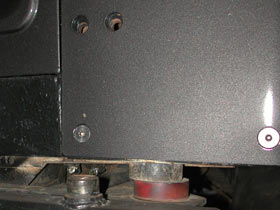
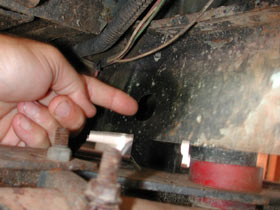
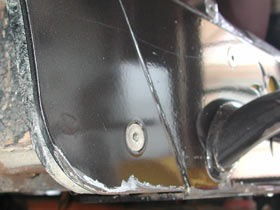
All of the fastener hardware is easily accessible with the exception of two. On my CJ there are two fasteners that go near the bottom of the tub next to the tailgate. This portion of the tub is boxed from behind so it is impossible to reach it with a bolt. As a result, it will be necessary to drill an access hole in the bottom of the tub. I used a 3/4” hole saw to cut an opening just large enough to reach through with a socket.
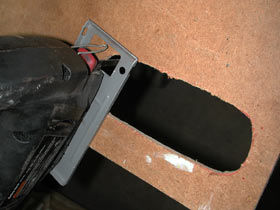
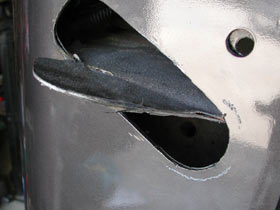
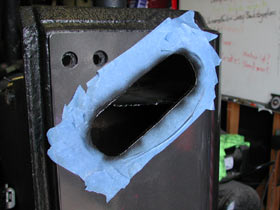
Now that the corners were mocked up, it was time to cut openings for the new oval LED tail lights. To do this, I started with a piece of scrap Masonite. I used a jig saw to cut a hole the exact size and shape (via trial and error) so the LED and grommet would fit perfectly. Once I had the cut-out, I transferred the ‘image’ to a piece of scrap paper to use as a template. After marking where to cut the corners, they were removed from the Jeep and a jigsaw and grinder were used to cut the holes in the 3/16” steel corner. Finally, using only a few of the fasteners, I bolted the corners to the tub and used an air body saw to cut holes in the tub that matched those in the corners, followed up by more Rustoleum on all the bare metal edges.
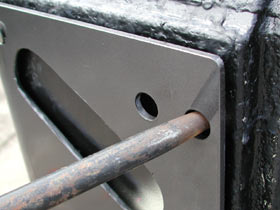
The corners come from Poison Spyder as unpainted bare metal. I used steel wool and paint prep to clean the metal and then I shot them with two coats of primer, lightly sanding with steel wool between coats. Then it was time for paint. Be sure to prime and paint all surfaces of the corners before painting (inside, outside, and edges). Of course, you can also choose to have your corners powdercoated. By this time, you will have already installed and uninstalled the corners a couple of times so this part of the job is pretty easy. Take the supplied hardware and start bolting it all together. In some instances you might want to use an alignment bar to help line the holes up to the same location as when the c-clamps were holding it flush. You wouldn’t want to use C-clamps here because they can mark or scar your paint job.
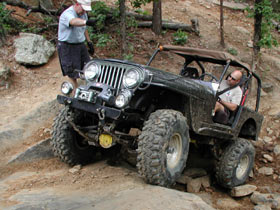
For testing, I decided to travel to Clayton, Oklahoma for the 2004 Memorial Day High Country Trail Ride sponsored by FWD-FWD. Clayton is one of my all-time favorite places to wheel and FWD-FWD always put together and excellent event. Memorial Weekend was no exception.
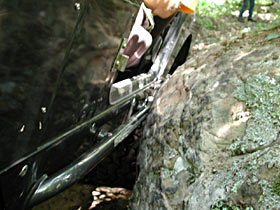
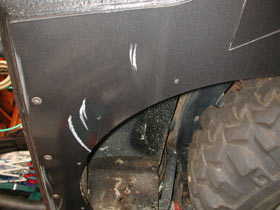
To be honest, I was not expecting to test the Crusher Corners. They are so stout, their strength is obvious. My Jeep, however, had other plans. It turns out that the only thing that suffered the abuse dished out while running trails like Green Mambo, TSOB, and Feriling’s Staircase was my paint job. Even it survived fairly unscathed.
|
|||||||||||||||||||||


|
Help spread the ROCKCRAWLER world!
|