|
Step
8 The front end springs are now done. We then moved on to
the rear.
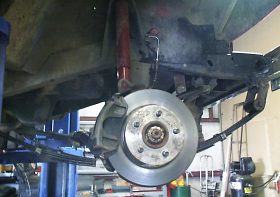
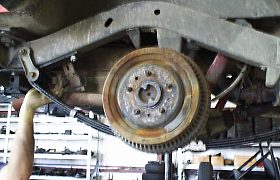
Step
10 Remove the rear u-bolts and springs, just like the
front. Then put your new ones on. Put the included shims in between
the spring packs and the axle tubes. These are to help improve your
driveline angle.

Step
12 The kit comes with a new extended brake line for the
rear. Once you've put it on there, you can take your clamp off.
|
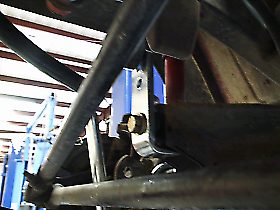
Step
9 The rear trac-bar will need to be relocated. On the 4"
kit, Rubicon Express recommends that you throw away the trac-bar
entirely.
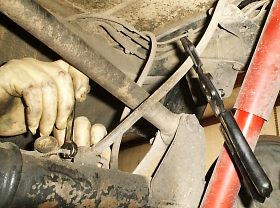
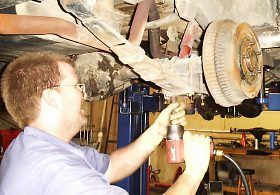
Step
11 Remove the old brake line on the rear axle. You may find
it useful to clamp off the main brake line while you do this.Remember
not to do it too tightly or with a sharp clamp!
Your
rear end is now finished. Sit back and admire your new springs for a
minute, then move on!
Step
13 |