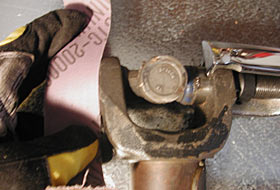
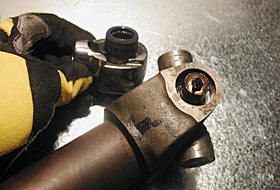
 Step
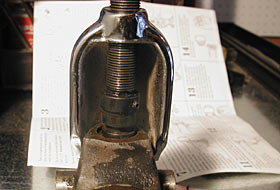
1: Place the main body of the U-Joint Tool over the yoke
and spin the main screw head down over the u-joint's bearing
cap.
Step
1: Place the main body of the U-Joint Tool over the yoke
and spin the main screw head down over the u-joint's bearing
cap. |
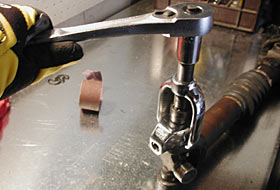
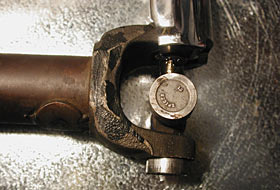
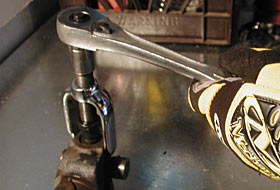 Step
2: Using a 3/4" hexagonal socket and a 1/2"
drive ratchet, turn the bolt clockwise, so as you tighten
the bolt, the bolt presses down as the tool pulls up, thus
pushing the u-joint downward
Step
2: Using a 3/4" hexagonal socket and a 1/2"
drive ratchet, turn the bolt clockwise, so as you tighten
the bolt, the bolt presses down as the tool pulls up, thus
pushing the u-joint downward |
| |
|
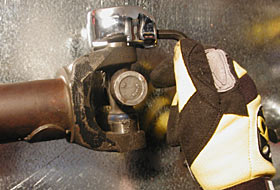
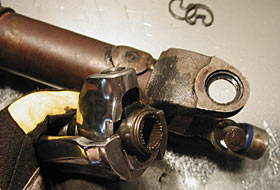
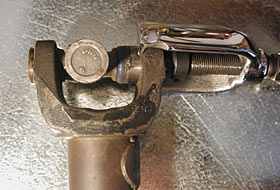 Step
2 (cont.): Here you can see the u-joint starting to move
to the left. Push the u-joint as far as you can. In our case,
the bearing cap stuck out roughtly 3/8" or so.
Step
2 (cont.): Here you can see the u-joint starting to move
to the left. Push the u-joint as far as you can. In our case,
the bearing cap stuck out roughtly 3/8" or so. |
 Step
3: Once the bearing cap is sticking out, clean the grease
off of the bearing cap and use some emory cloth to rough the
cap up so it's easier to grab.
Step
3: Once the bearing cap is sticking out, clean the grease
off of the bearing cap and use some emory cloth to rough the
cap up so it's easier to grab. |
| |
|
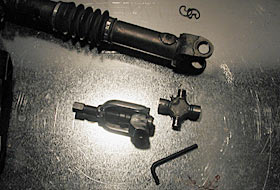
 Step
4: Attach the collet by placing it over the exposed bearing
cap. The cap fits inside perfectly. Tighten the collet with
the supplied Allen wrench.
Step
4: Attach the collet by placing it over the exposed bearing
cap. The cap fits inside perfectly. Tighten the collet with
the supplied Allen wrench. |
 Step
5: Next, slide the main body onto the collet. The object
here is to remove the bearing cap from this end, so we need
to extract it.
Step
5: Next, slide the main body onto the collet. The object
here is to remove the bearing cap from this end, so we need
to extract it. |
| |
|
 Step
5 (cont.): Turn the ratchet counter-clockwise and the
collet will begin to pull the bearing cap out.
Step
5 (cont.): Turn the ratchet counter-clockwise and the
collet will begin to pull the bearing cap out. |
 Step
5 (cont.): The cap will come off and stay in the collet.
You are now 1/2-way finished.
Step
5 (cont.): The cap will come off and stay in the collet.
You are now 1/2-way finished. |
| |
|
 Step
6: Basically, we are now going to repeat the above steps.
Place the main body on the end sticking out.
Step
6: Basically, we are now going to repeat the above steps.
Place the main body on the end sticking out. |
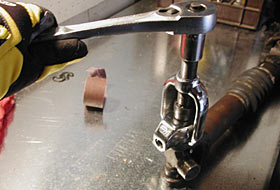
 Step
7: Crank the ratchet clockwise until the bearing cap protrudes
from the opposite end.
Step
7: Crank the ratchet clockwise until the bearing cap protrudes
from the opposite end. |
| |
|
 Step
8: Use the collet as in Steps 4 and 5 to remove the bearing
cap.
Step
8: Use the collet as in Steps 4 and 5 to remove the bearing
cap. |
 The u-joint
can now be easily removed from yoke. Voila! You're done!
The u-joint
can now be easily removed from yoke. Voila! You're done! |