

Not all of us have our own machine shop at our disposal, but Don took his expertise and design skills and combined them with the inventiveness that comes from a midwestern farm town and created his own RZR Air Box System. Using billet aluminum, his first ‘production’ run of 5 units created the basis for the over 700 units he’s sold since.
The theory was simple: improved mounting off the engine, not off the chassis…use a commonly available airbox…and a filter you can buy anywhere.
Almost too simple…yet those 700+ units have resulted in zero returns due to dissatisfaction and only one return due to the owner having enough other changes done to their RZR that it simply didn’t fit.
I chose the D&L Machine RZR Air Box for these same reasons. While I’ve read and heard nothing but positive reports about their water resistance and filtration capabilities, the fact that I can stop into any NAPA or O’Reilly’s or other parts store and get a replacement filter is a nice bonus.
I will warn you…don’t get Don on the phone…I like to talk, he likes to talk…can make for a chatty afternoon……and you won’t find Don chatting up the interweb forums either…he’s a busy man with the machine shop and wisely spends his free time with the family.
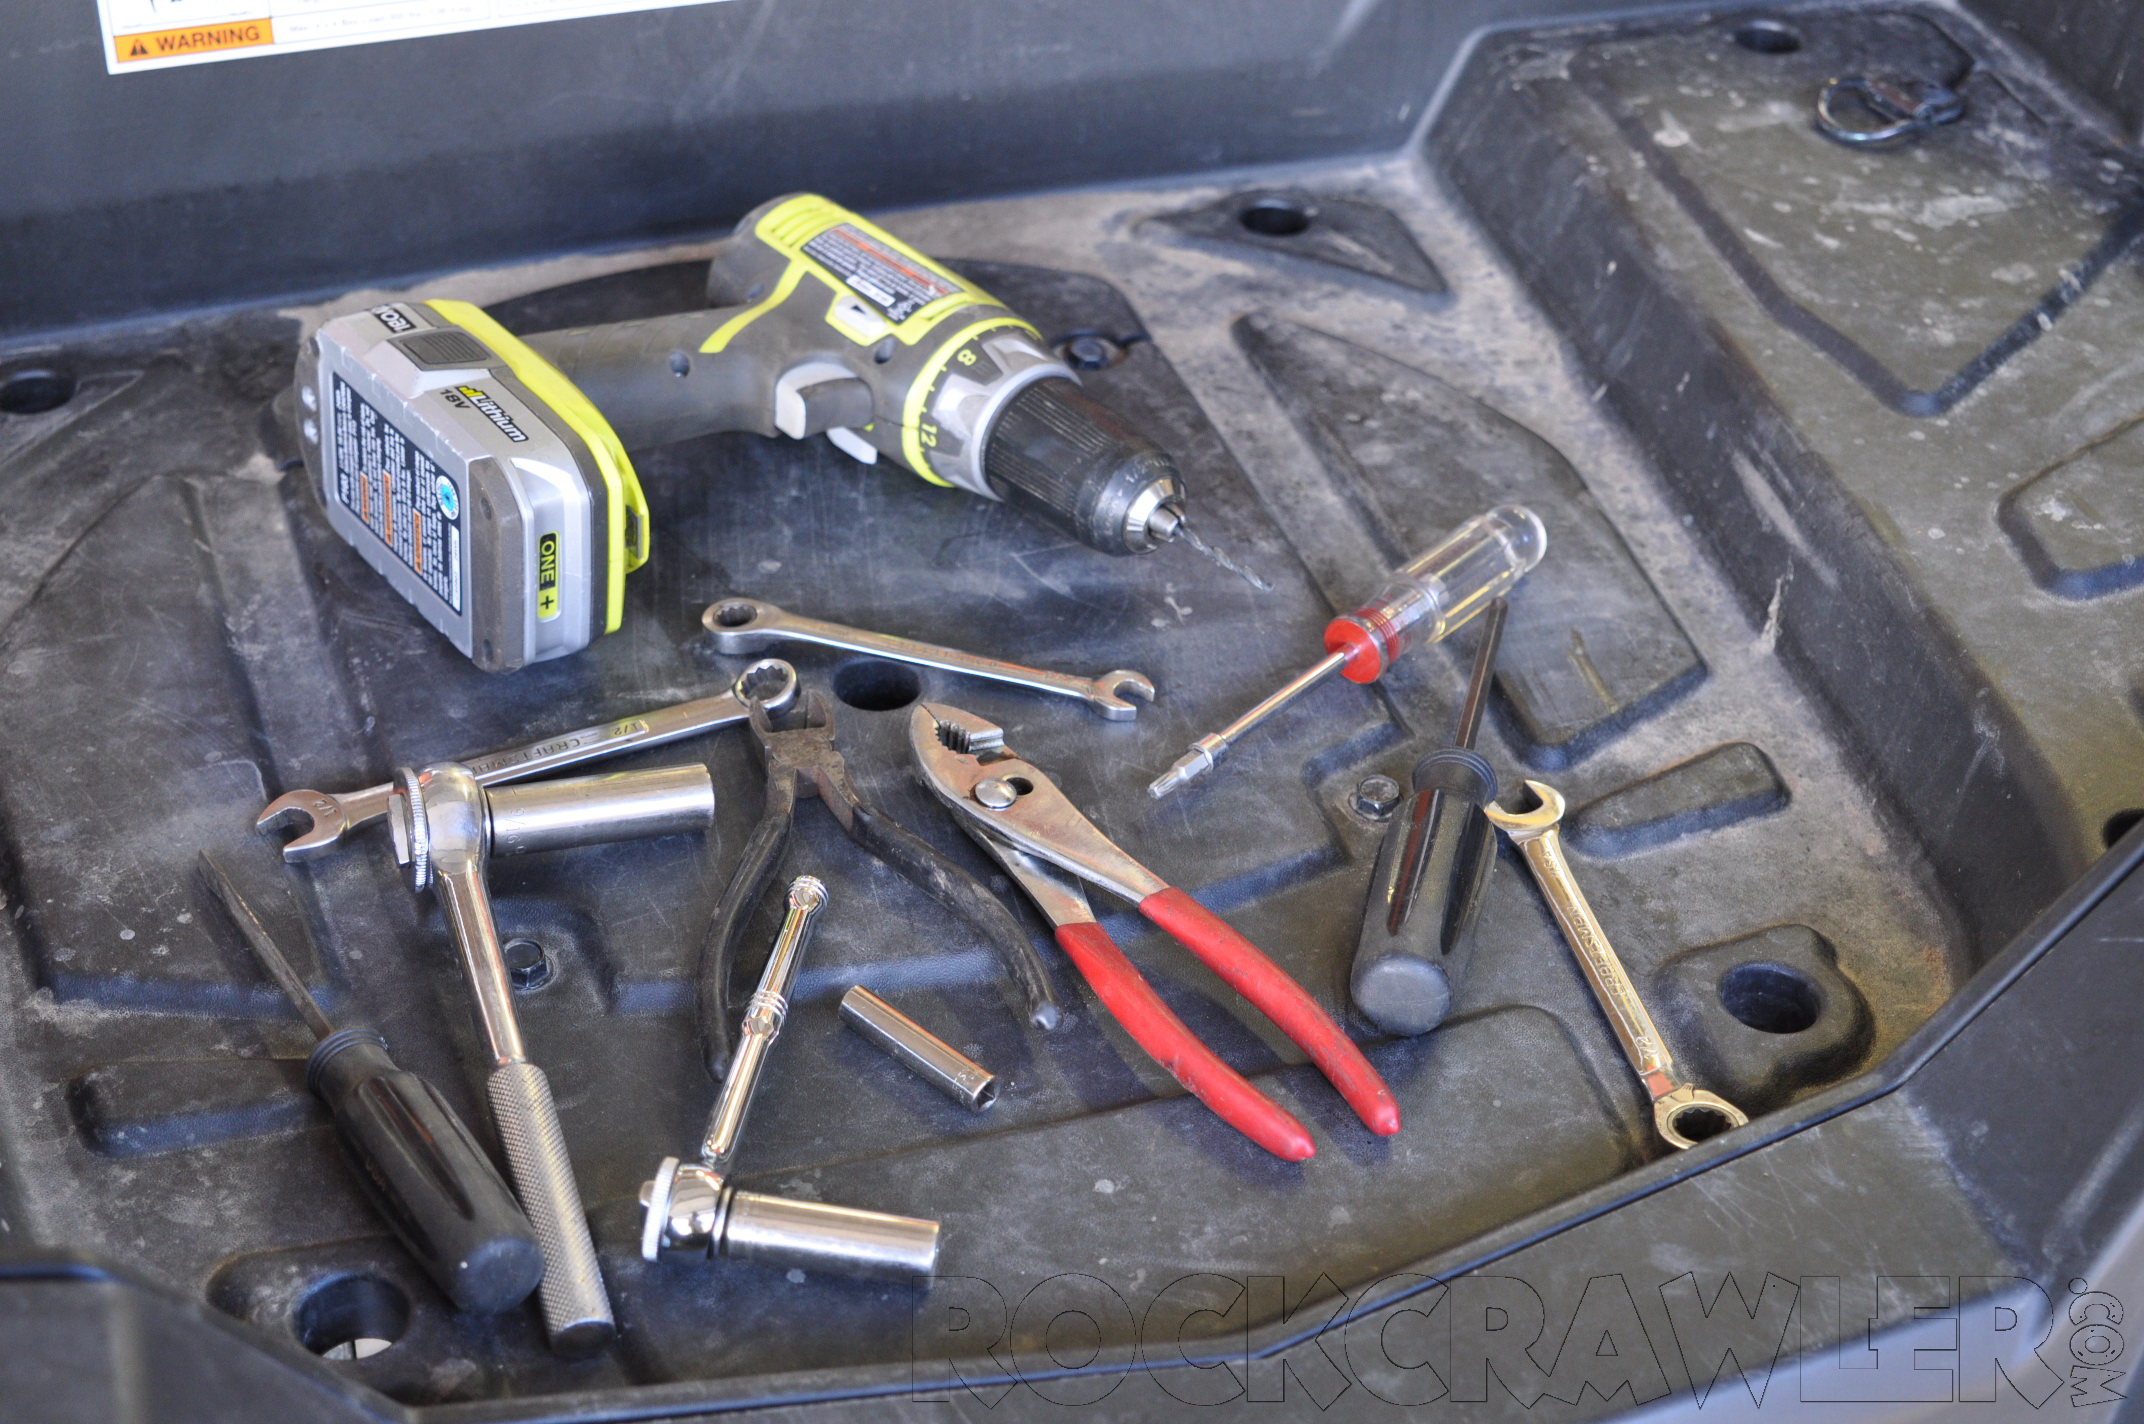
Installation:
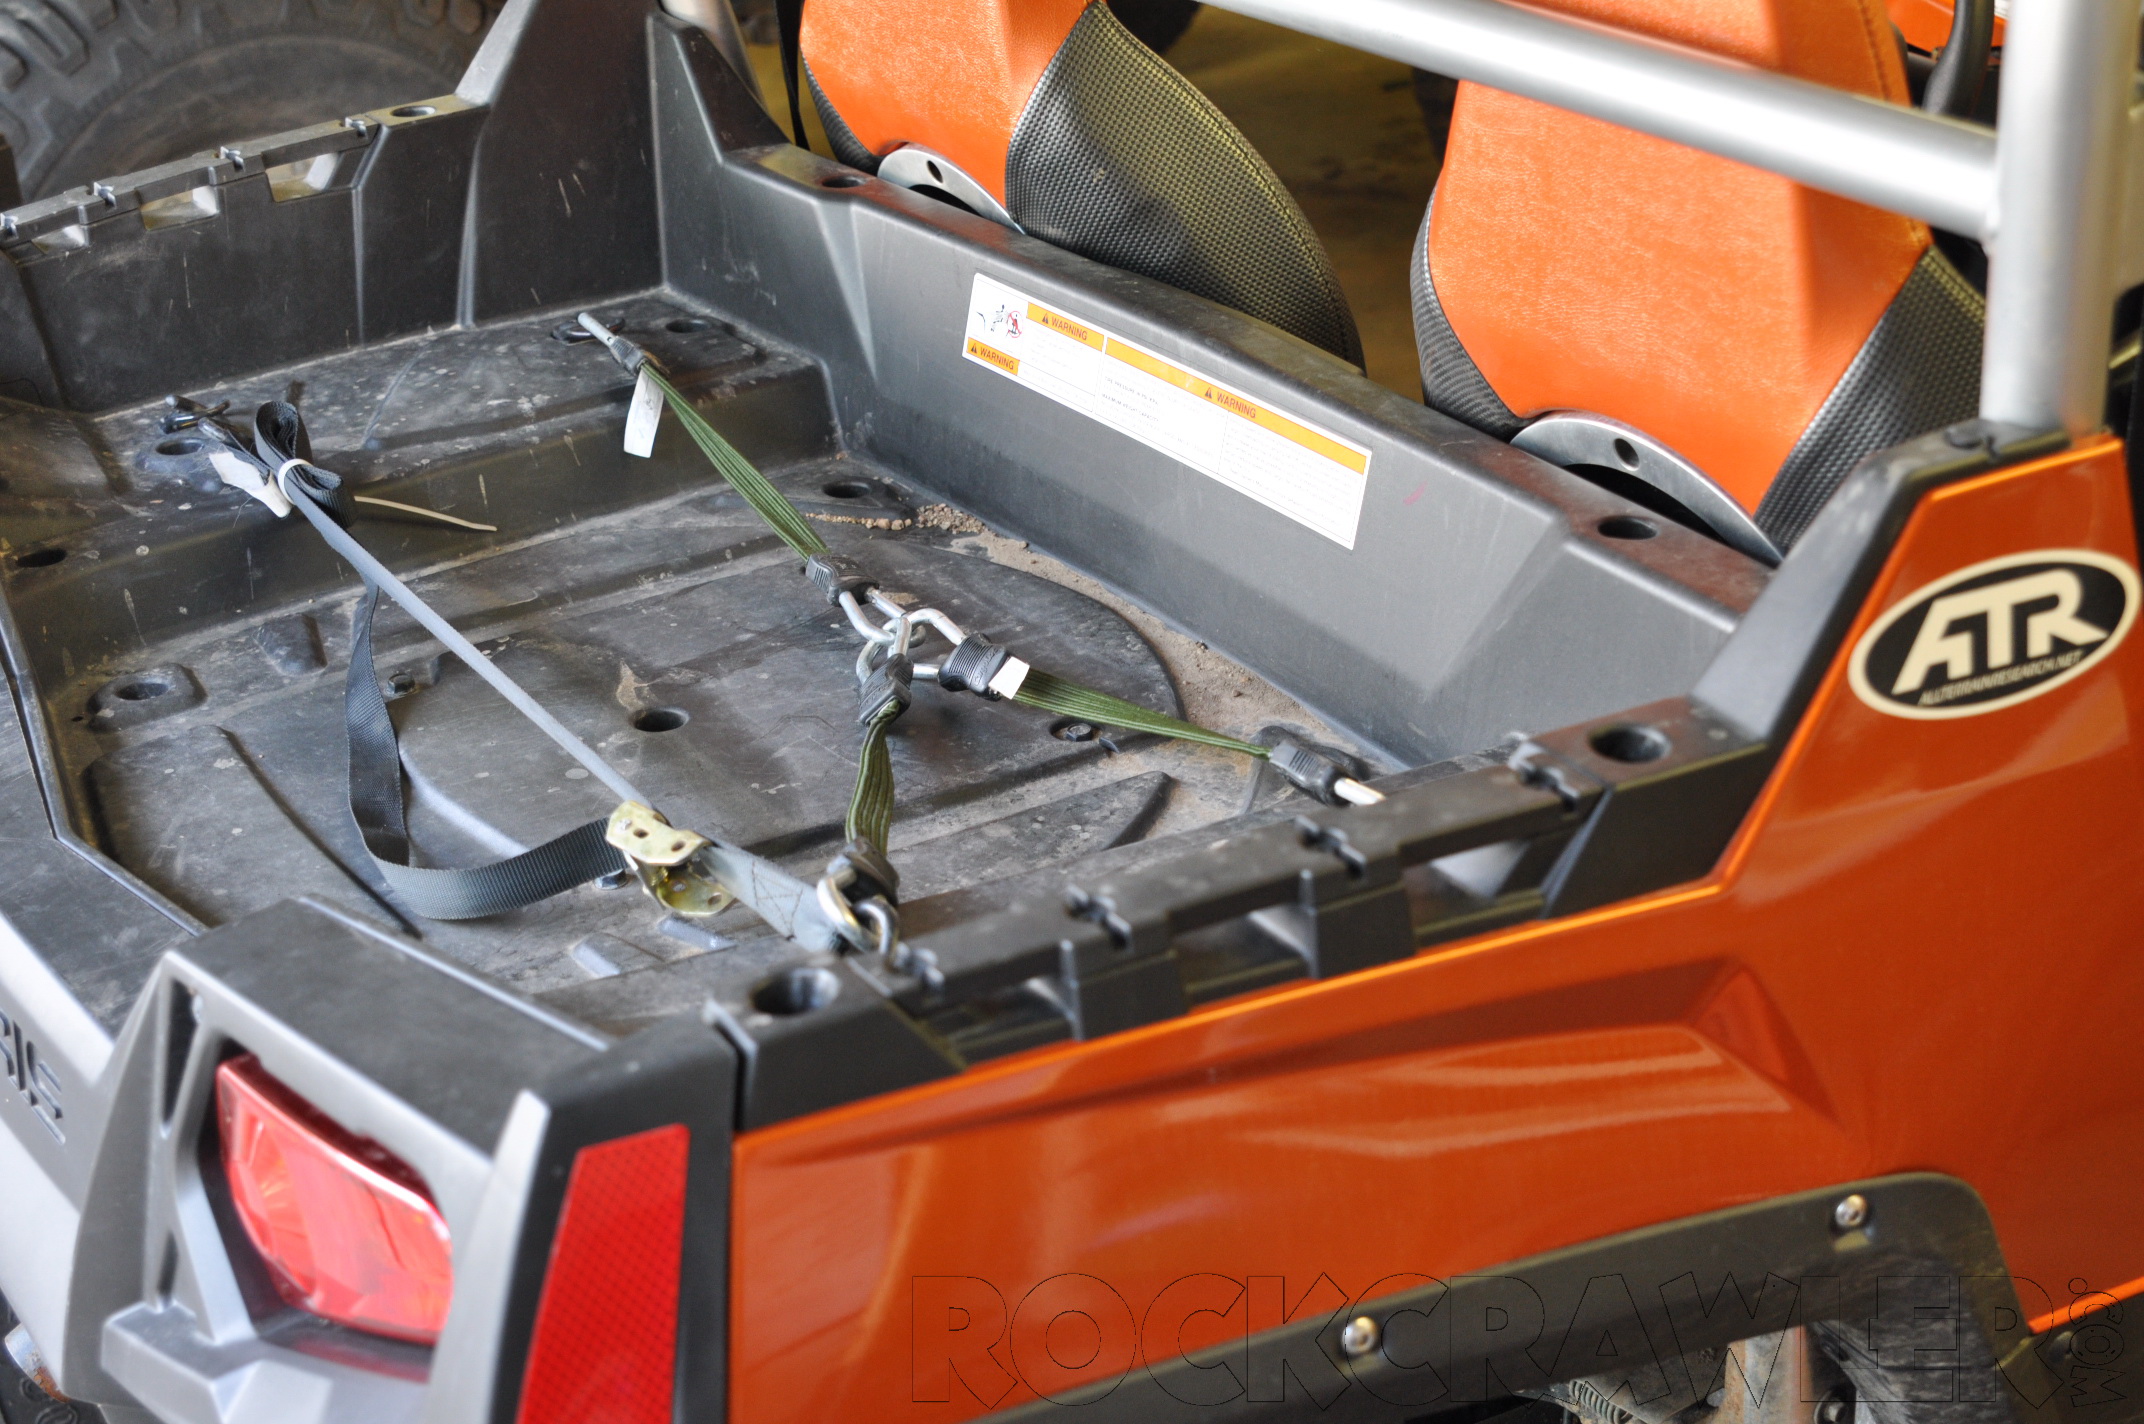
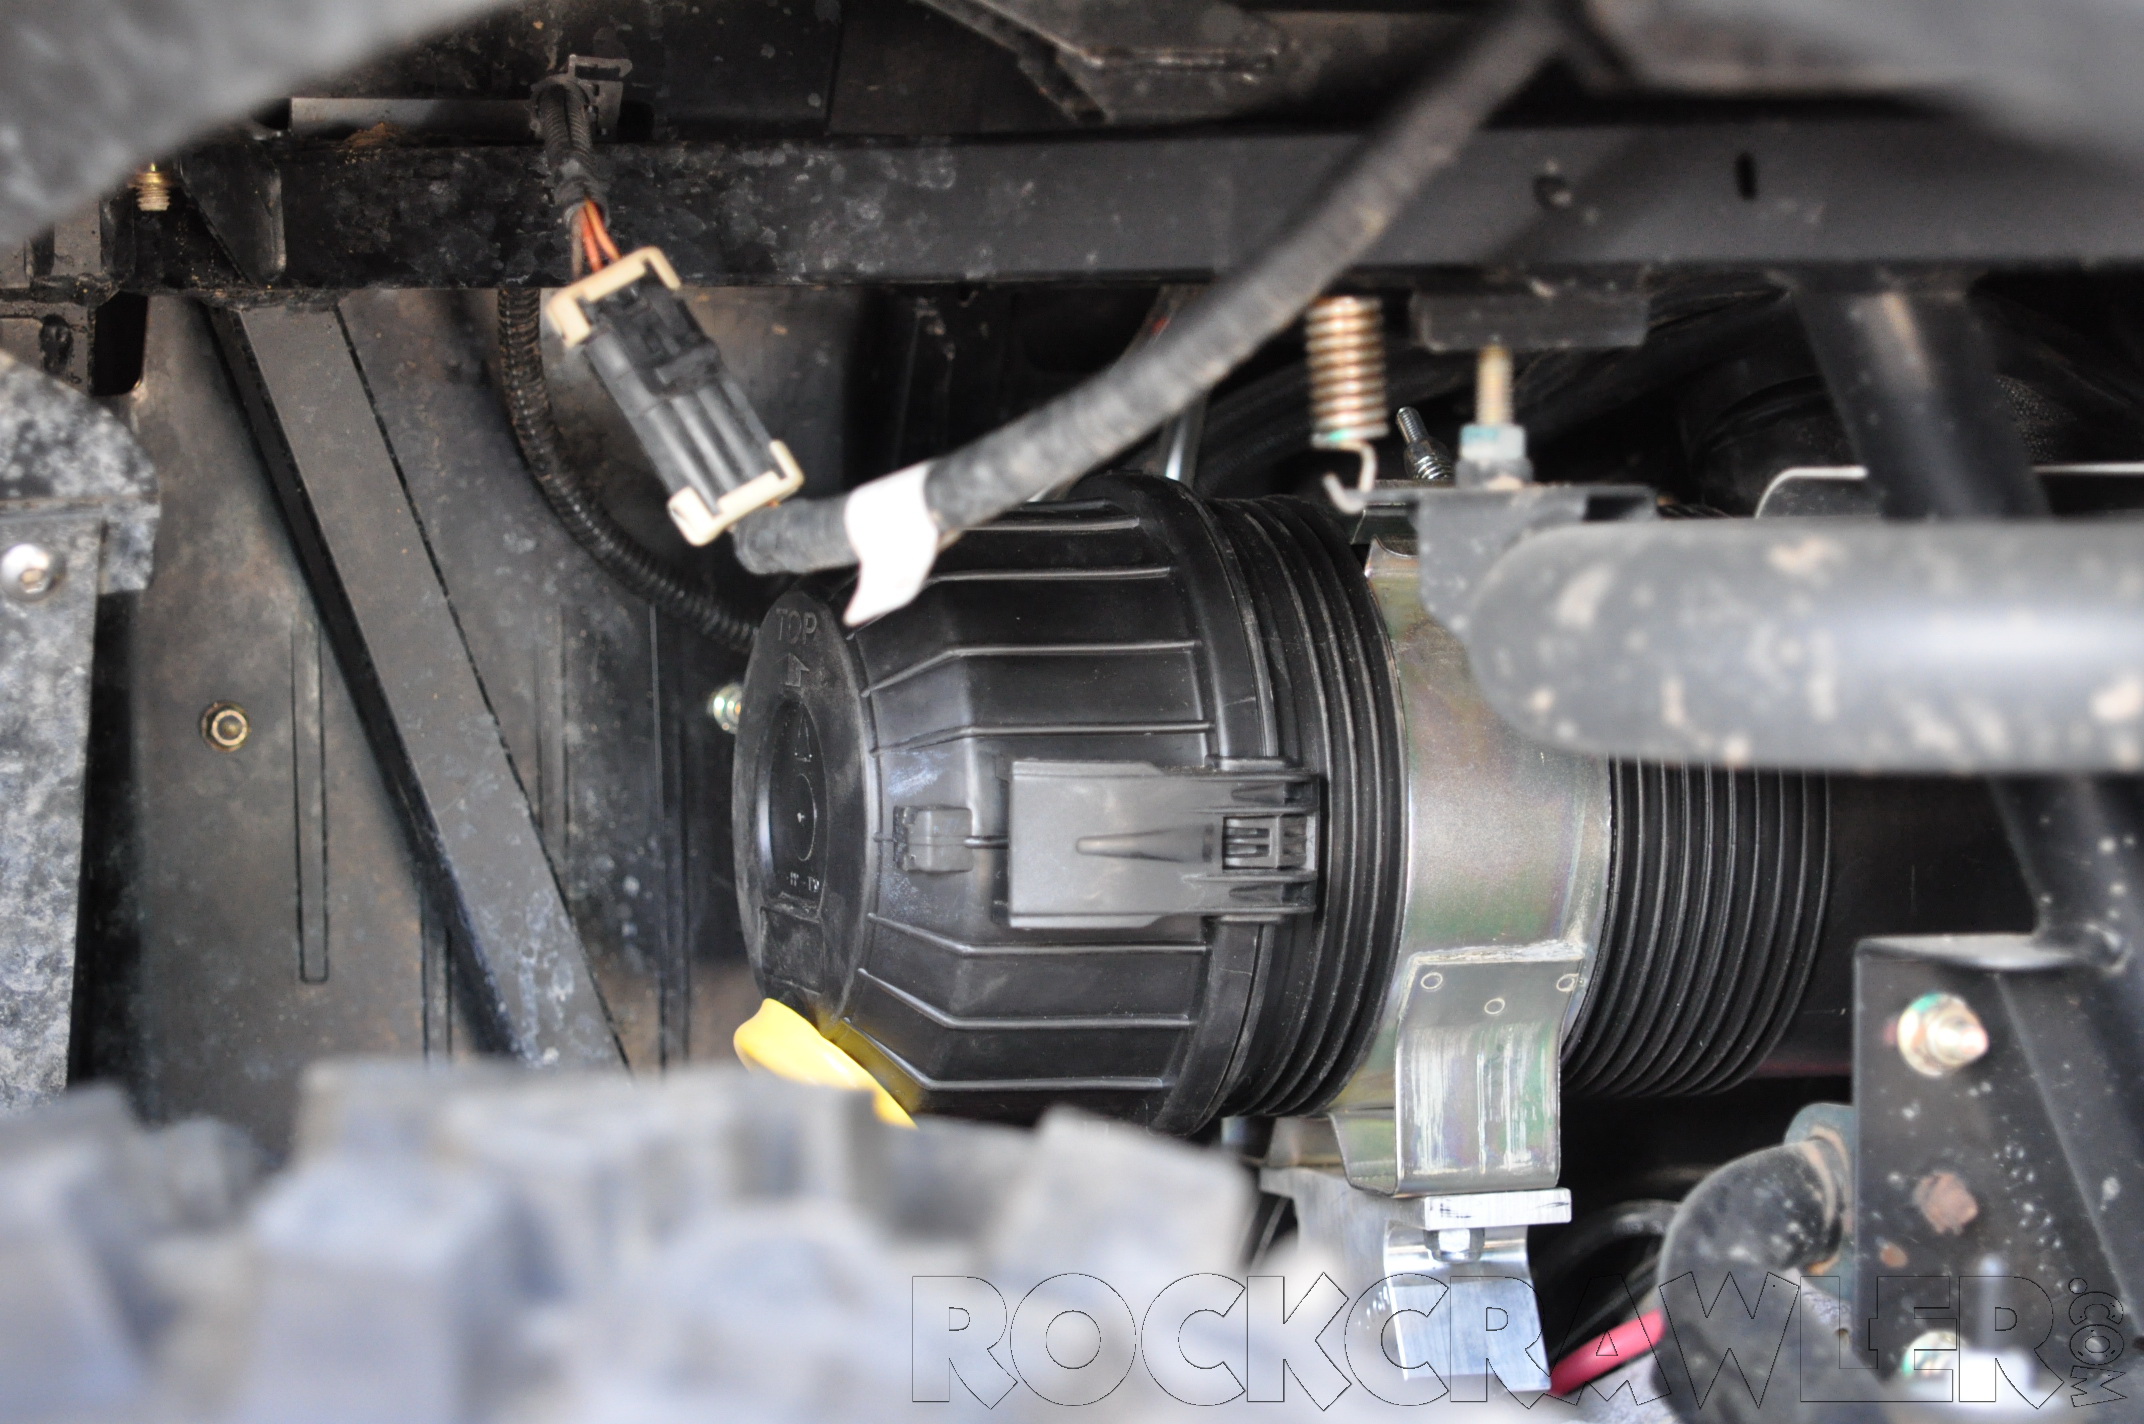
Don provides a nice set of instructions, including pointing out what hardware needs removed so the rear deck lid can be pulled easily. Not only are they numbered step-by-step, but there are printed images included as well to reference. It doesn’t get any easier.
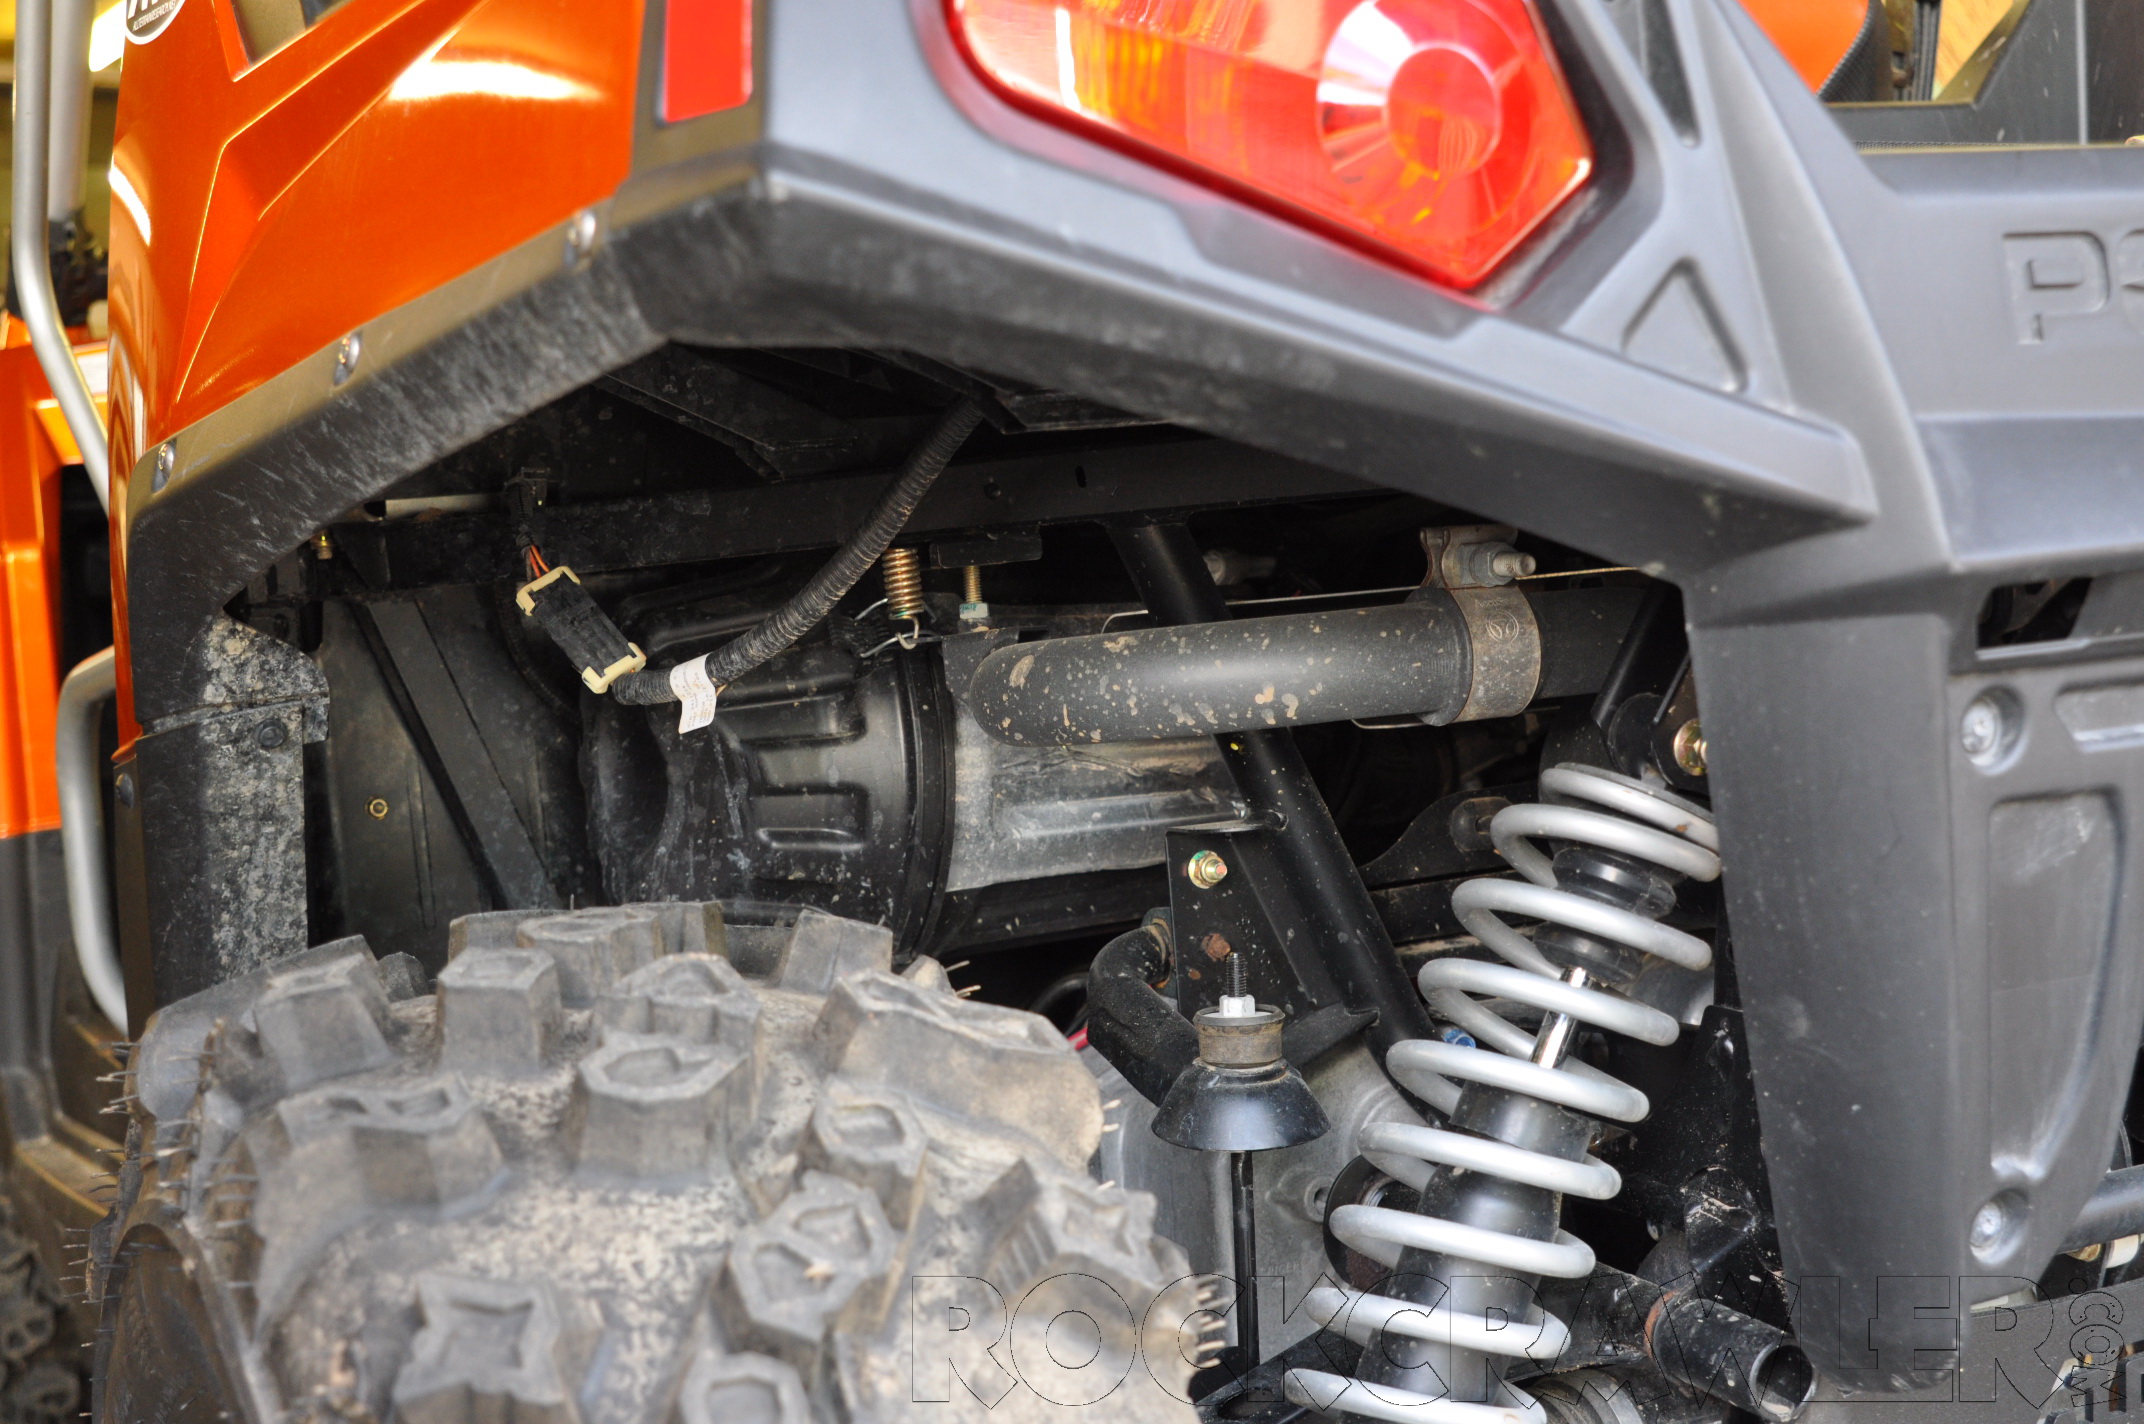
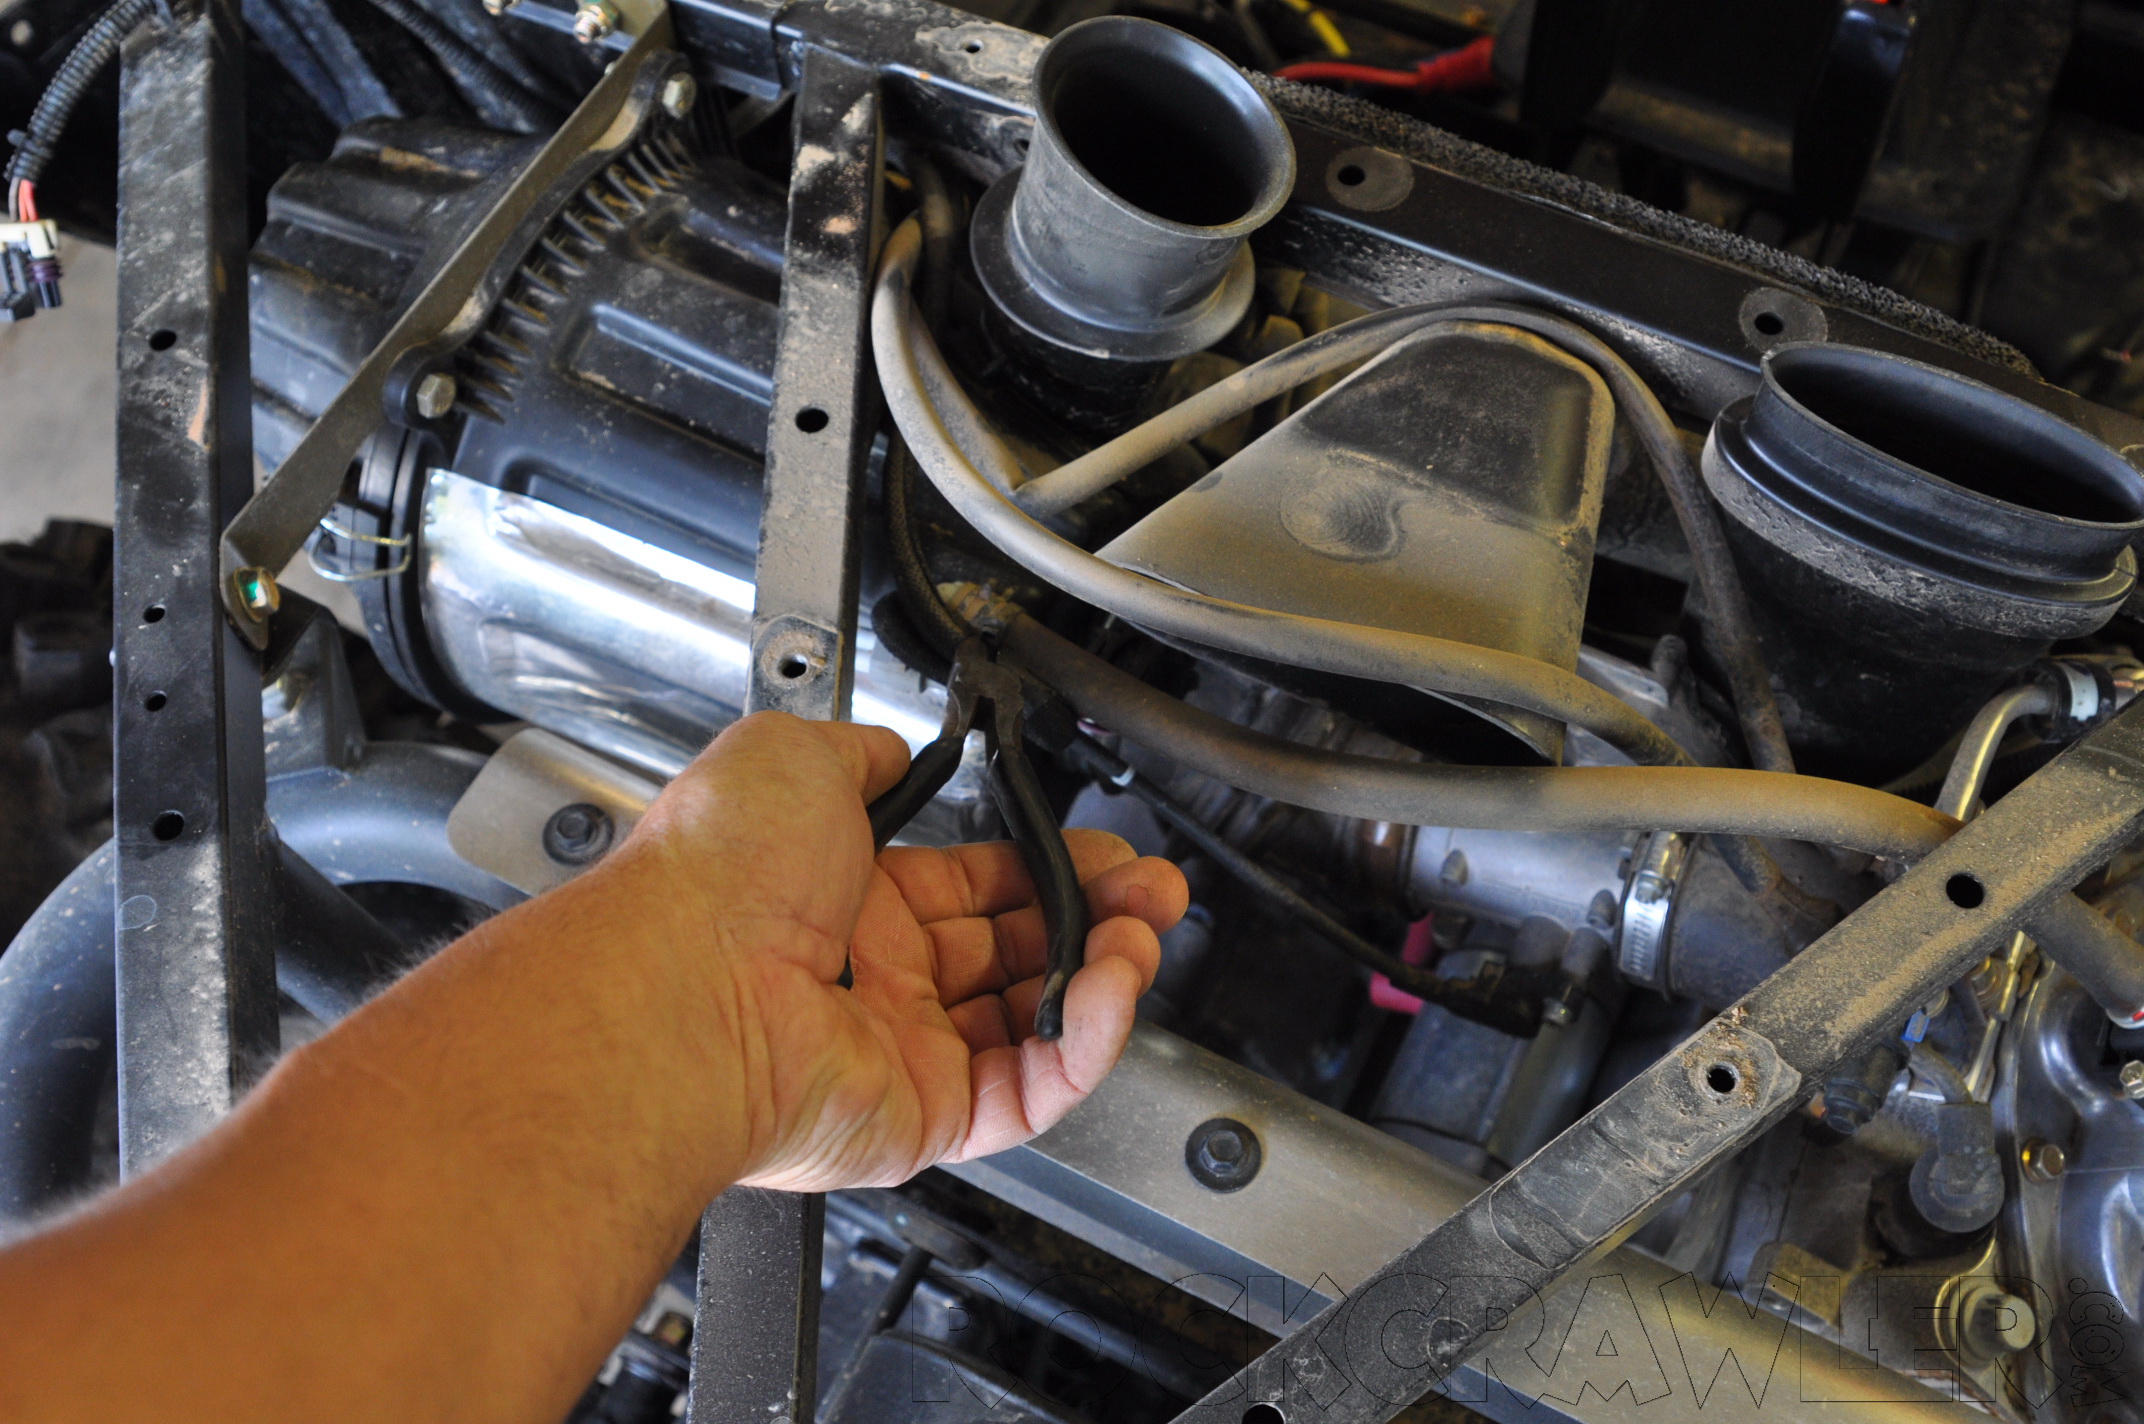
The ONLY part of the installation that’s at all difficult is step 12… drilling the holes in the stock plastic air intake housing so the machined aluminum adapter is centered. My 2009 had the same issues warned about as the 2008 where only 2 screws went thru plastic and two were next to it…no big deal, since there is plenty of gasket surrounding the sealing point and the fender-washers included clamp onto the plastic edge nicely.
…and I hope you have small hands and good dexterity…getting the nylocks on those bolts is an exercise in irritation.
A final note…REPLACE the stock crankcase vent hose with a longer one…MUCH longer. Get something about 36″ in length and sized to fit the airbox side (the crankcase connection required it to be stretched larger). Loop the hose around the top of the crankcase when you install. If you ever have the misfortune of flopping your RZR on it’s side, this will help pool some of the engine oil that escapes in the vent hose and keep it out of the airbox. I’ve done this trick for years on my 1:1 rigs and it works well.


1 comment