|
Back to Features Page By, EZ Rhino |
|||||||||||
|
Motor
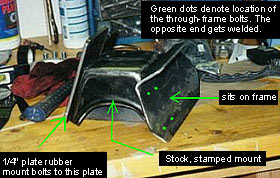
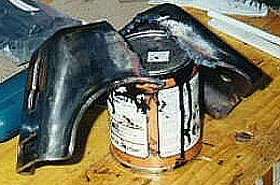
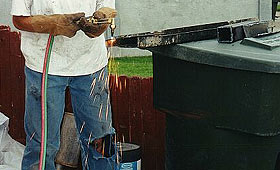
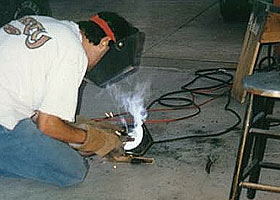
Replacement & Motor Mounts Now that I decided on the type of rubber mount, how was I going to attach it to the frame? After scrutiny of the stock, stamped steel frame to motor brackets, I decided I could easy reuse them (little did I know....). Another dichotomy of the motor mount process is the question of either welding or bolting them to the frame, each have their pros and cons. I decided to use the stock holes on the rearward side and run an angled piece of 3/16" thick plate on the inside of the frame to distribute the load. A week and a half and much torching and welding later, I had some very stout and nice looking motor mounts sitting on my frame.
So was it worth it to spend ten times as long fabricating my own brackets instead of just plopping down $150 for some? Well, maybe. I get a satisfaction from doing it myself, which is probably the main reason I felt it worthwhile. Motor mounts complete, it was time to re-install the motor (hopefully) for the last time. The cleaned up transmission was bolted up to the engine and torque converter bolted to the flywheel. The transmission connectors were also put on...kickdown cable, dipstick tube, and some linkages to the throttle body. I removed the cruise control module because it was in the way and really not needed anyway. To attach the GM 700r4 to the Dana 300 transfer case, an adapter from Novak was used. Again, Eric at Novak not only sold me on the quality of their product, but is a hell of a nice guy and allowed me to talk his ear off with questions. The guy I talked to actually couldn't give me a strait answer to my adapting questions. Novak is a little unique in that they specialize in jeep drivetrain conversions and really know Jeeps inside and out, rather that focusing on many different product lines. The adapter requires swapping out the input shaft of the transfer case with the new one provided with the kit. Follow along here (sidebar2) to see how to get the transfer case ready to bolt up to the transmission. Next month we'll see if this whole mess really works! A new fuel injection harness and fuel pump from Howell Engine Developments will be installed, as well as the shifter and transfer case crossmemeber/skid plate. Finally, new driveshafts and a good exhaust system will complete the project.
© 2000 Rockcrawler. All Rights Reserved |
|||||||||||
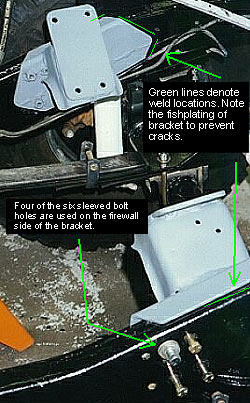
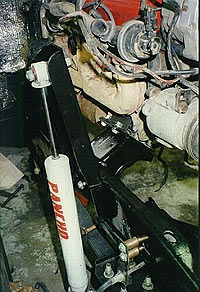 Here
you can see how the motor mount and the shock mounts attach to
the frame.
Here
you can see how the motor mount and the shock mounts attach to
the frame.