|
Step
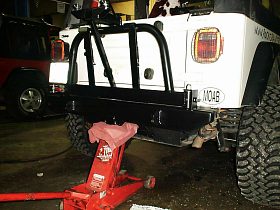
5Because the assembly weighs in at 146 pounds, we found
it usefull to jack it into place for easier assembly and less
hernias.
Step
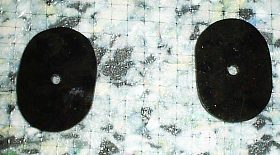
7 Bulletproof includes spacers to shove the bump-stops
out a bit if needed.
Step
9 Tighten up all bolts in bumper and then re-tighten
like doing lugnuts on wheels. Go a bit at a time. The gear is
manufactured to extremely tight tolerances and you may
have to mess with it a bit. This is a good thing!
|
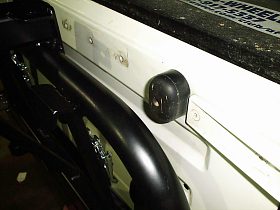
Step
6The rack will rest against the top two bump-stops
on the tailgate when assembled.
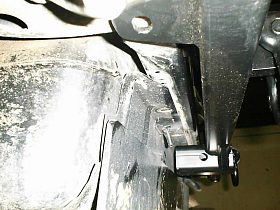
Step
8 Use a cheater bar or screwdriver to align the holes
on the bumper with the frame to start seating bolts.

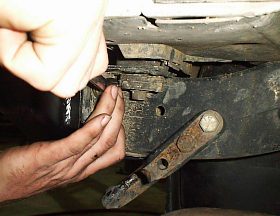
Step
10 Because our tailgate was bashed in during the accident,
it has a slight bow to it. We needed to install the spacers in
the top bump-stops. You may not. You will need to remove the lower
two bump-stops, regardless.
Step
11
|