|
|
By: Chris Shontz |

Rock-Light Installation
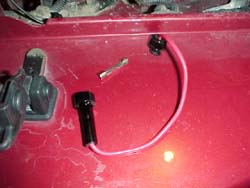 |
Step 7 Its time to find a home for your in-line fuse. The in-line fuse holder I got at Radio Shack is pretty beefy. It comes as one piece and you're supposed to snip it in the center to make it two pieces. The 20-amp fuse goes between the two black pieces, and the black pieces clip together to house the fuse. |
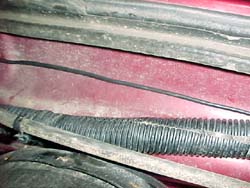 |
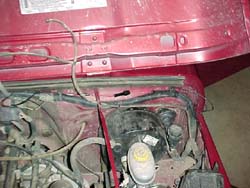
Step 7 - Continued... You'll want to pick a clean, dry, easy-access location in the "rock-light circuit" for your fuse. I chose this section of wire against the top of the firewall to be my fuse location. You absolutely must install some sort of fuse. What if you're going through a water-crossing, and your light short-circuits? Its much nicer blowing a fuse than frying your wires! |
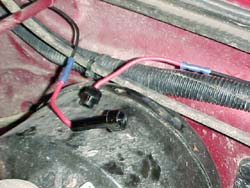 |
Step 8 Cut the wire at the location you choose to install the fuse assembly, and crimp both ends of the fuse assembly to the section of wire you just cut. It doesn't matter which direction the ends face. |
 |
Step 9 Insert the fuse and clip the ends of the housing together. The ends screw together and seal well, but its only a quarter-turn. This is somewhat unnerving, so I took about an inch of electric tape, and wrapped it around the connected ends. This will keep out moisture and make sure it doesn't fall apart. In the picture you can see the completely installed in-line fuse assembly. |
ON
TO PAGE 4
Setting up your relay...