 |
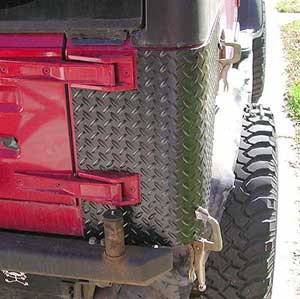
Clamp the corners
in place |
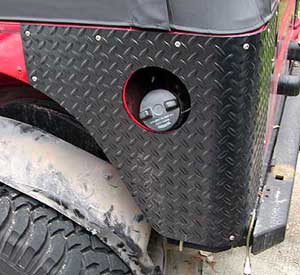
Place the panel over
the corner and clamp it into place. Decide how you want the panel to line
up and make any adjustments. I chose to make the top edge of the
panel lay slightly below the bottom of the mounting rail for the soft
top. Once you have the panel aligned, drill thru the two holes in the
bend of the panel and bolt it into place. There are 30 bolts, nuts, and
washers packaged in the kit. This allows for 15 bolts per side. You must
decide were to place the rest of the bolts. This is why I say plan for
a whole weekend. measuring and spacing the bolts out can take some time.
 |
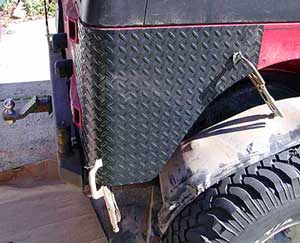
Align the panel
along the bottom edge of the soft top mounting rail
|
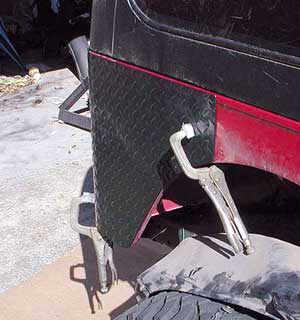
Space out the
remaining bolt holes.
Drill each hole and install the bolts. |
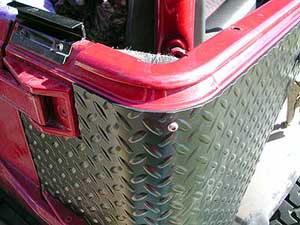
Measure
and space out where you want to mount the remaining bolts. Using the
punch, mark each spot to be drilled. Make sure that the hole locations
are in areas that you can reach from the inside to screw the nuts onto
the bolt threads. Drill, install, and tighten bolts alternately. This
will pull the panel tight to the body and keep it from shifting. The
panel covers over three fender flare bolt holes and the four holes for
the fuel filler. Use a scribe to mark these holes from inside the fender
opening. Once you have the holes marked, remove the corner panels. The
lowest flare attachement hole is fitted with a sleeve that needs to
be removed. Drill out the remaining holes in the panel, and enlarge
the three fender flare mounting holes in the body.
NEXT--->>
Intro | The Panels |
LED Lights | Finish